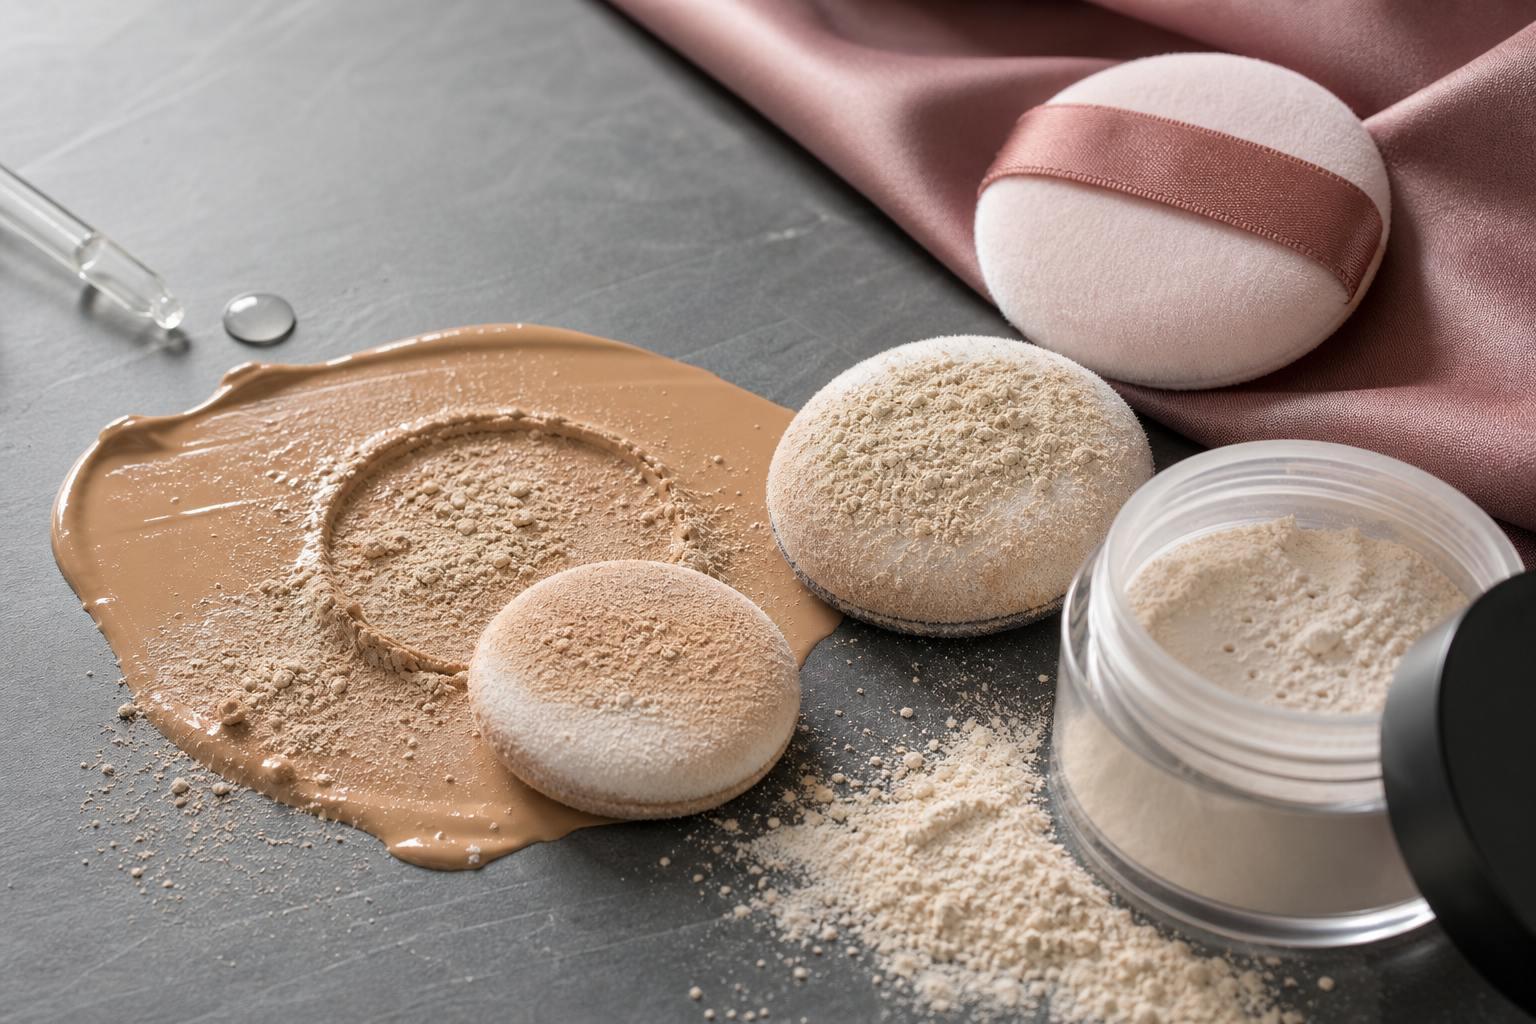
You’ve finished your base, set it with powder and left the bathroom feeling smug—only to catch your reflection later and see tiny, repetitive marks where the puff pressed. It isn’t a mystery. Three things combine to create that telltale pattern: too much powder, concentrated downward pressure and a base that hasn’t properly set. Fix those three and the problem disappears.
How the problem happens
Powder puffs are designed to press product into place. Their texture and density can create an even, compacted surface—great when that’s the goal, awful when you want a soft, seamless finish. When a dense puff is loaded with powder it doesn’t distribute a whisper of pigment; it lays down a thin, surface layer. That surface sits on top of the foundation rather than integrating with it, and any subsequent pressing or movement redistributes and compacts the powder in repeatable patterns.
Pressure matters more than you think. A plush puff concentrates force across its nap: press hard and you’re not blending, you’re stamping. If the puff has any patterning or folding, that texture becomes impressed into the powdered layer. The same pressure also forces product into finer lines and pores, which increases visible texture instead of smoothing it.
A still-tacky base makes the stamps more obvious. Where cream or liquid products are wetter they grab and hold more powder; the puff’s pressure then accentuates differences across the face, redistributing more pigment into tackier zones. The result is denser patches and faint, repeating “puff prints.”
Three practical fixes that change the outcome
1. Let the base set. Wait a short moment after applying liquids or creams—enough for the tackiness to decrease—before you reach for powder. If skin feels very damp, blot gently with a clean tissue first. Exact wait times vary by product and humidity; use the skin’s feel as your cue rather than a clock.
2. Change your tool and motion. For initial setting press and roll rather than rub or drag: tap the puff into the pan, press gently onto the skin, then roll away—never drag. For finishing, switch to a large, fluffy brush to diffuse powder without concentrated pressure. Reserve the puff for touch-ups or deliberate compacting, and always use a feather touch.
3. Use less powder. A skimmed, tapped application is more effective than loading the puff. If you want extra staying power, build lightweight layers and press gently between them rather than applying one heavy coat.
Practical tweaks that make a visible difference
Keep puffs clean and dry. A saturated or soiled puff deposits unevenly and can redeposit oils or product. Replace puffs when the nap breaks down.
Adjust tool material. Velour and dense napped puffs are most likely to leave marks. Microfibre, soft sponges or thin latex-free pads are more forgiving, especially over semi-matte or drier bases.
Use a light diffuse layer first. On very dewy or creamy bases, dust a fine veil of powder with a fluffy brush before any puffing; that creates a light barrier and reduces uneven cling.
On the go: if you must use a puff, tap the product into the skin, then pat—avoid rubbing or compressing.
When a puff is the right choice
Puffs do exactly what they’re meant to: press pigment into a compact, controlled finish for touch-ups, minimal fallout or targeted setting. They’re less suitable for freshly layered liquid or cream bases, or for applying a lot of powder in one pass. If you repeatedly see patterning, change the tool and technique rather than swapping products.
A small habit tweak—waiting a bit, using a lighter hand and reaching for a brush more often—fixes most “puff stamp” problems. Simple, effective and keeps your base looking like skin, not textile.