Your Makeup Sponge Is Eating Your Foundation — Fix It in Three Simple Steps
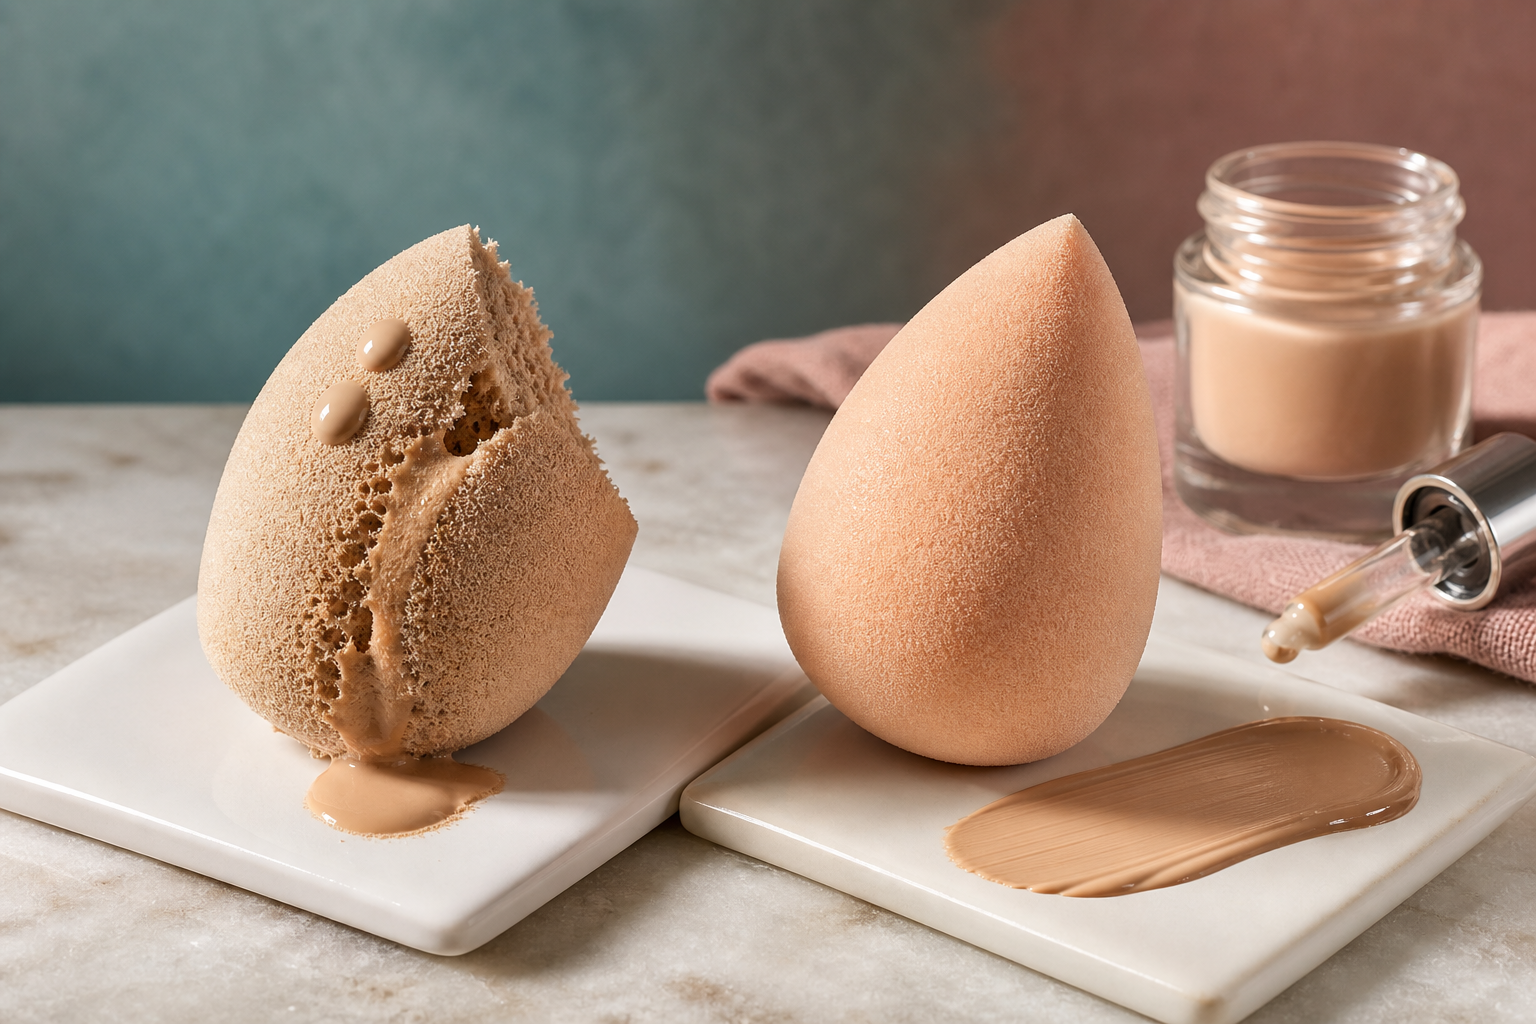
Your sponge should blend foundation, not devour it. Yet when coverage looks thin, patchy or simply vanished, most of us blame the formula. The real culprit is often the tool: a dry, frayed or overloaded sponge will soak product instead of pressing it into skin. Make three small changes—how you prep, how you load and how you move the sponge—and you’ll use less foundation and get a more even finish.
What’s actually happening
Makeup sponges are porous by design. In good condition and slightly damp, those pores help diffuse product and create a skinlike result. But when a sponge is bone dry, rough or packed with product, the same pores become a sponge’s vacuum: foundation is pulled in and held there rather than transferred to skin. A frayed surface increases the tool’s capacity to retain product, so more foundation ends up inside the sponge than on your face.
Prep: the wet-and-squeeze rule
The single most effective tweak is also the simplest. Run the sponge under water until it’s fully saturated, then press it down in a towel until it’s evenly damp—springy, not dripping. That thin film of water sits between the product and the sponge’s pores, so the foundation sheers out onto skin rather than being swallowed.
Quick dampness checklist:
Too wet: product will slide and thin out.
Too dry: sponge will absorb and cling to product.
Aim for a sponge that’s evenly damp with a subtle shine and a springy feel—not dripping, not chalky.
How to load and apply
Less is more. Don’t glob foundation onto the sponge before it touches skin. Two reliable approaches:
Dot method: place small dots of foundation where you need it (centre forehead, cheeks, chin) and bounce to blend.
Hand-pick method: put a tiny amount on the back of your hand, press the sponge in to pick it up, then bounce onto the face.
Avoid piling product onto the sponge; excess pools at the surface and encourages absorption. Work in thin layers, building coverage gradually. A well-damp sponge will push product into the skin so you rarely need heavy-handed application.
Technique: bounce, don’t drag
Use a gentle stippling or bouncing motion—think “press and lift.” Dragging or smoothing can both remove product and cause friction at the sponge surface, which leads to pilling and further waste. Use the rounded side for broad areas and the pointed tip for under-eye corners, the sides of the nose and small blemish zones.
When to retire the sponge
If the sponge is visibly frayed, permanently stained, has lost its bounce or behaves inconsistently, it’s past its best. Worn tools will continue to absorb more product and deliver an uneven finish. Regular cleaning helps, but no sponge lasts forever—replace it once performance drops or damage is visible.
Cleaning, storage and hygiene
For regular users, many makeup artists and experienced users recommend a full wash at least weekly, with a quick rinse after each use if you’re short on time. Use a gentle cleanser, massage under running water until the suds run clear, and avoid aggressive wringing that can tear the surface. Allow the sponge to dry completely in a ventilated spot—storing a damp sponge in a sealed case can trap moisture and encourage odour or bacteria. These are experience-based care tips, not medical advice.
Tool swaps worth considering
If you want to avoid absorption entirely, silicone applicators are effectively non-absorbent. They produce a slightly different finish—some users find it satiny rather than ultra-skinlike—so results vary by formula and personal preference.
Troubleshooting checklist
Coverage disappears after a few hours: check that the sponge was damp and not overloaded.
Finish looks cakey or patchy: likely too much product at once or dragging; restart with a damp tool and stipple.
Sponge smells or feels heavy: replace it.
Small changes, measurable savings
You probably won’t notice dramatic product rationing overnight, but the cumulative effect is real. A correctly prepped and lightly loaded sponge uses less product per application than a dry, frayed or overloaded one. If you want proof, try a simple side-by-side test with identical amounts of foundation and two differently prepped sponges—the difference is often obvious.
If your goal is a smoother finish and less waste, start with the wet-and-squeeze rule, use a light loading method and bounce rather than drag. It’s an inexpensive habit update with immediate, visible results.